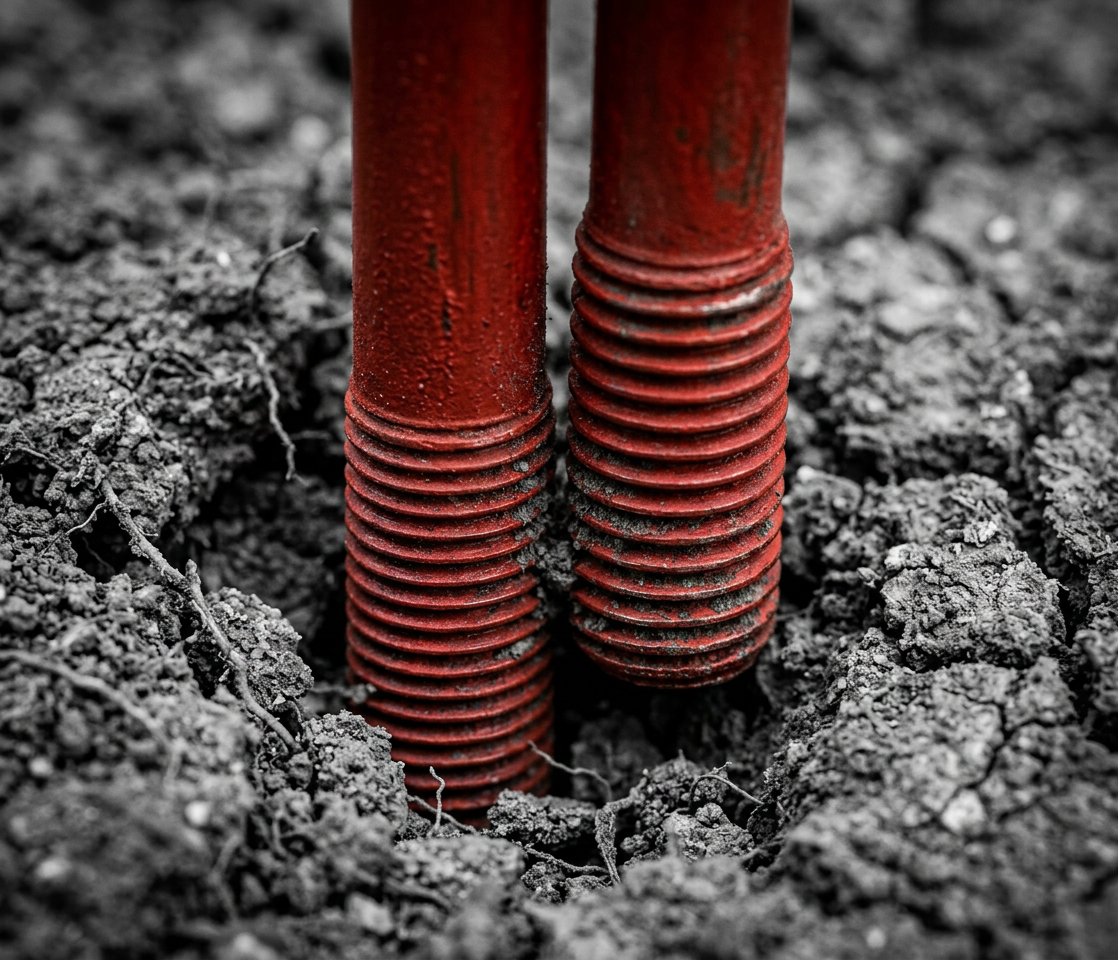
An earthing rod buried in the ground. It seems simple enough, right?
Not quite.
House earthing rod installation is one of the most misunderstood aspects of electrical safety — and getting it wrong can result in equipment damage, fire risk, and failed compliance audits.
Here’s what separates a professional installation from a DIY job:
- Rod Material Matters
Not all earthing rods are created equal. Copper-bonded, stainless steel, and galvanised rods each have different conductivity ratings and lifespans. The right choice depends on your soil composition and local corrosion risk.
- Depth is Non-Negotiable
The rod must reach sufficient depth to access consistently moist, conductive soil. In South Africa’s varied geology — from Highveld clay to Karoo rock — this requires soil testing, not guesswork.
- Connection Integrity is Everything
The connection between the rod, the earth cable, and your electrical panel must be mechanically secure and electrically sound. Corroded or loose connections make the entire earthing system ineffective.
- Single Rod vs. Grid Systems
A single rod is rarely sufficient for larger properties or high-risk environments. In many cases, multiple rods connected in a grid — or supplemented by earthing tape or chemical electrodes — are required to meet SANS 62305 standards.
- Testing Validates the Installation
After installation, earth resistance testing confirms the system is performing within acceptable limits. This test result is part of your Certificate of Compliance.
At HHK, every earthing rod installation begins with a soil resistivity survey and ends with a certified, tested system. We’ve installed and certified systems for facilities ranging from suburban homes to 35,000-tonne mine operations.
Don’t assume your earthing rod is doing its job. Have it tested by a specialist.